From Zero to Private Agent: Deploying OpenClaw with AINFT in 15 Minutes
OpenClaw (formerly ClawdBot or Moltbot) is an open-source personal AI assistant. Unlike cloud-based SaaS tools, OpenClaw runs locally on your own machine, giving you full control over your data and workflows. You can interact with it through familiar messaging platforms like WhatsApp, Telegram, Lark, and DingTalk to handle emails, manage calendars, write code, or even automate your smart home.
OpenClaw is more than just a chatbot; it's a truly functional "agent" designed for real-world execution. It features persistent memory, access to your local file system and the internet, and the ability to grow more powerful by expanding its "skills".
Because it's open-source and self-hosted, OpenClaw has attracted a vibrant community of developers and tech enthusiasts. The community has pioneered creative use cases, from automating business operations to managing personal life—showcasing the immense potential of a truly personal AI.
This guide will walk you through everything from scratch: downloading, installing, and setting up OpenClaw, as well as connecting it to the AINFT API. By the end, you'll have built your very own AI assistant.
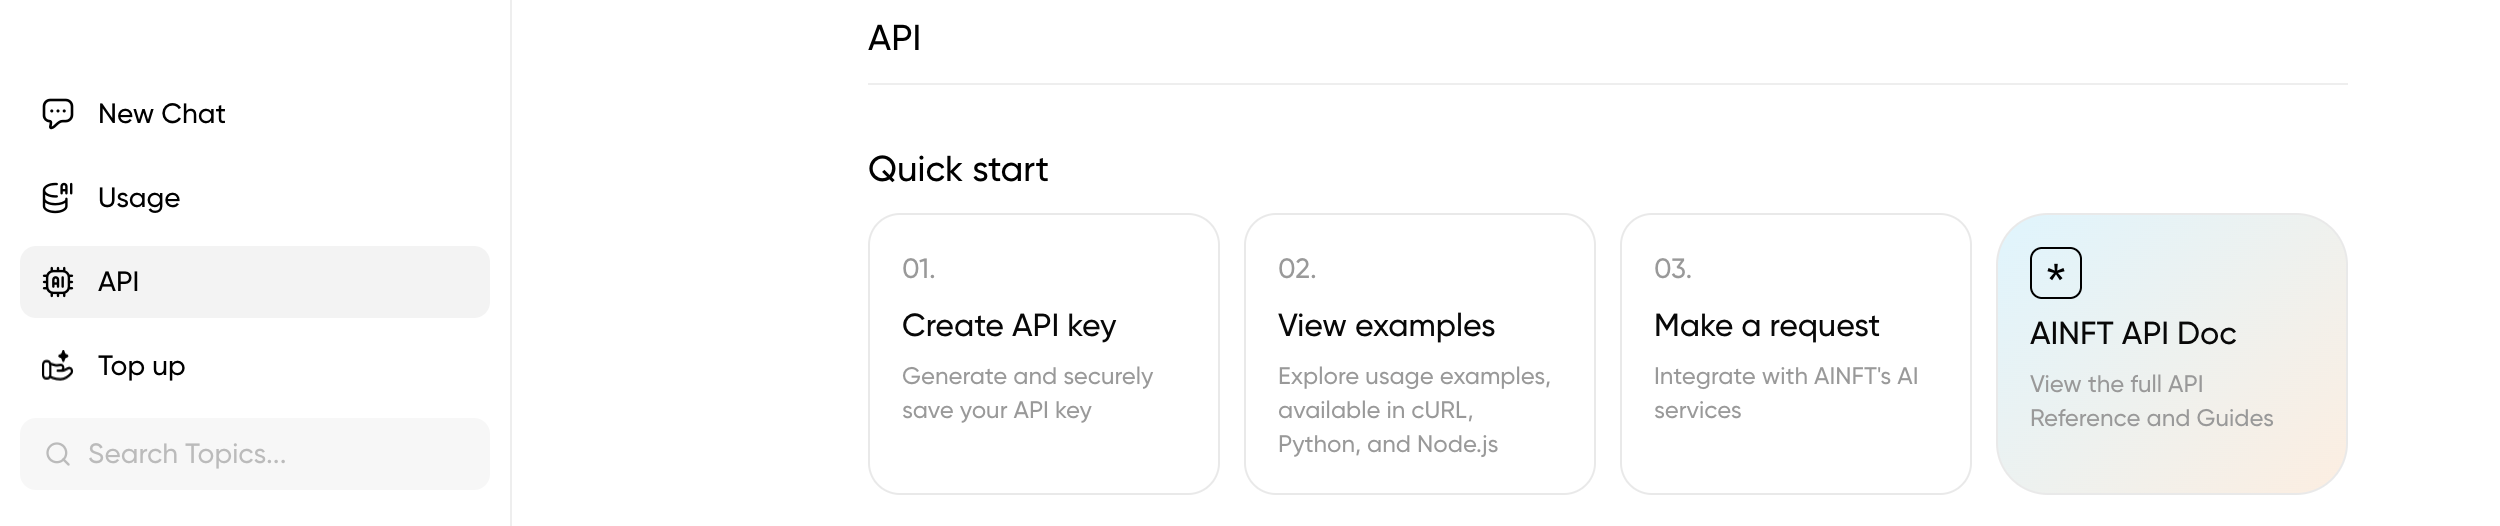
Step 1: Get Your AINFT API Key
- Log in to https://chat.ainft.com/chat.
- Navigate to the API key management page and apply for your api_key.
Step 2: Prepare Your System
Before installing, make sure your system meets these basic requirements. OpenClaw is designed for Unix-like environments but runs perfectly on Windows via WSL2 (Windows Subsystem for Linux 2).
| Requirement | Details |
|---|---|
| Node.js | Version 22 or higher. This is the runtime environment for OpenClaw. |
| Operating System | macOS, Linux, or Windows (via WSL2). |
| Package Manager | pnpm is required to compile from source. For a standard install, npm (which comes with Node.js) is recommended. |
To check your environment, open a terminal and run:
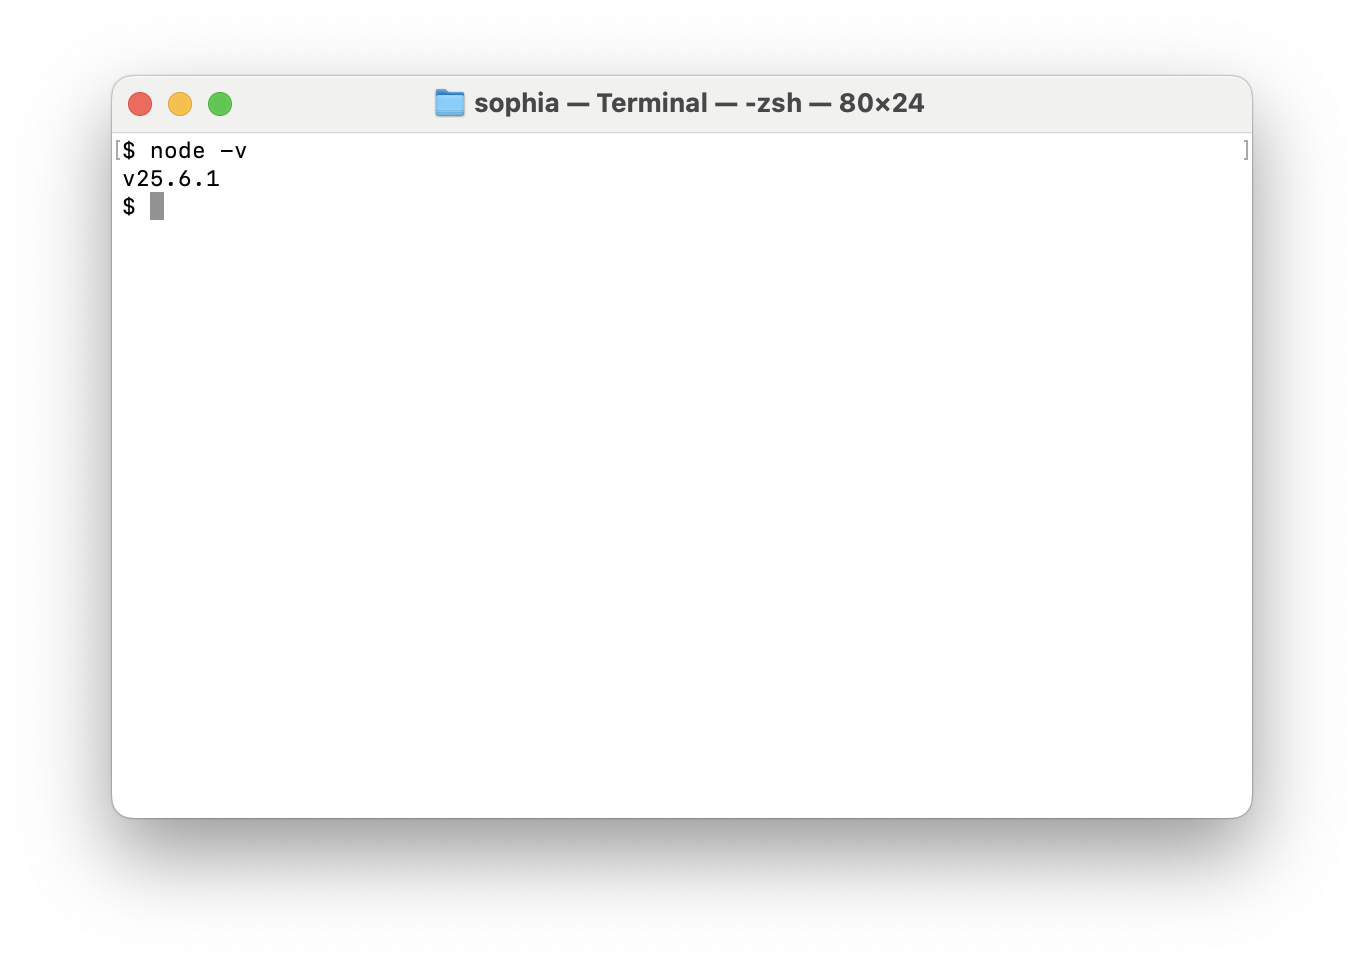
If the version is lower than v22.0.0, or you see a "command not found" error, please install or upgrade Node.js from the official website.
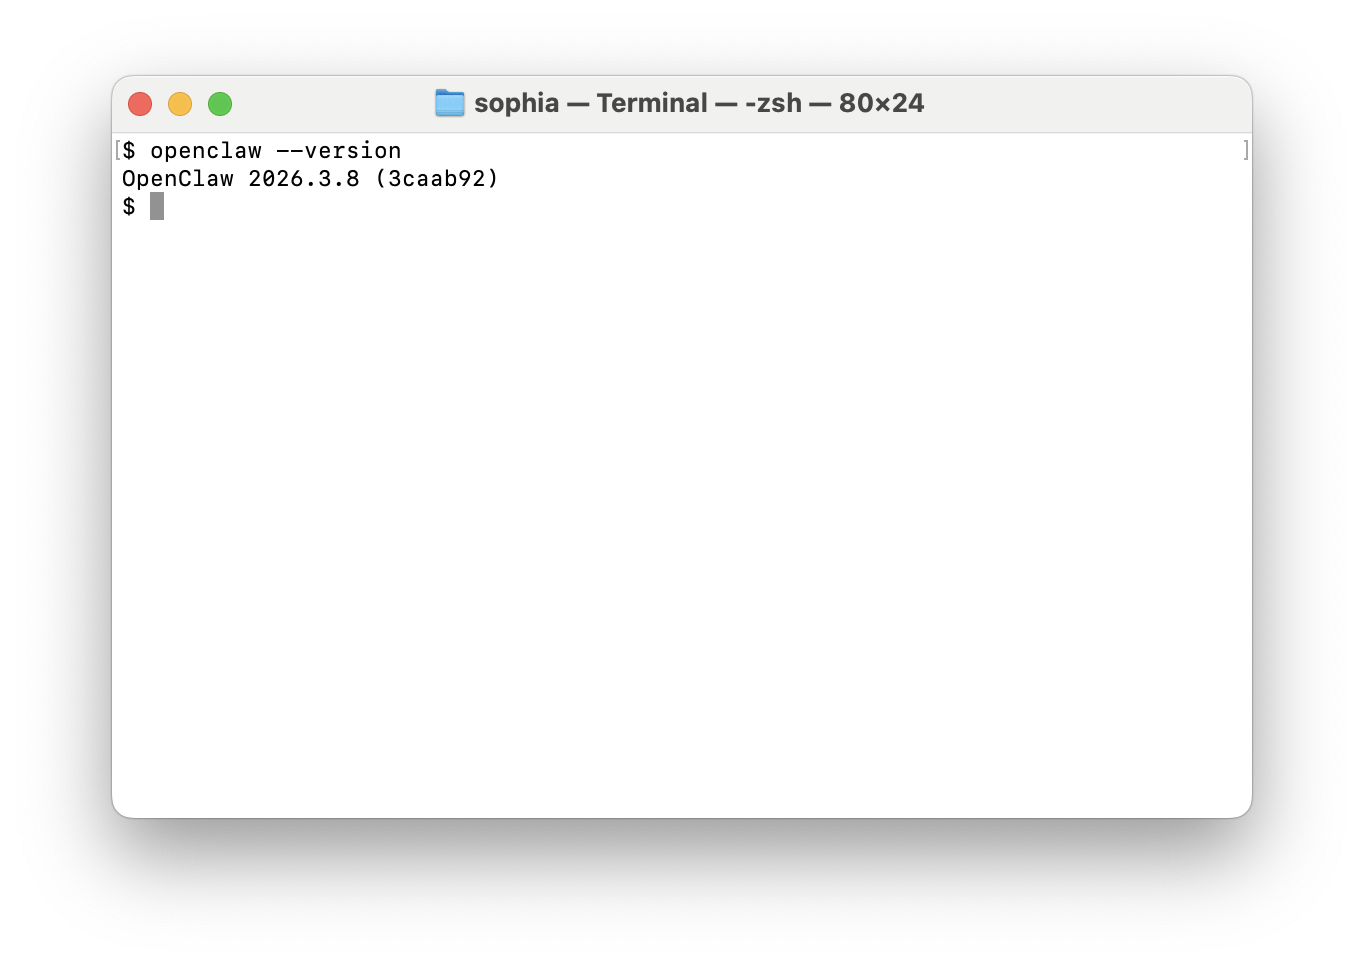
Step 3: Install OpenClaw
OpenClaw supports several installation methods. For beginners, the official one-line installation script is the best choice, as it automatically handles most of the setup.
This method is the quickest and easiest as it will detect your OS, install dependencies, and make the openclaw command available globally.
For macOS or Linux terminals, execute the following:
npm install -g openclaw
For Windows users using PowerShell, run the same command:
npm install -g openclaw
Troubleshooting Common Errors
Problem 1: Sharp Module Error
On some systems—especially macOS where libvips was installed via Homebrew—you might encounter an error with the sharp module (an image processing library). To fix this, try forcing the installation of pre-built binaries, which bypasses local compilation:
npm install -g openclaw --force
Problem 2: "Command Not Found
After installation, you might see "openclaw: command not found". This usually means your system can't find where globally installed npm packages are located. Find npm's global installation path by running:
npm config get prefix
If the output is, for example, /usr/local, then your binaries live in /usr/local/bin. You will need to add this path to your shell profile (~/.zshrc or ~/.bashrc):
export PATH="/usr/local/bin:$PATH"
After saving the file, restart your terminal or run source ~/.zshrc (or your specific config file) to apply the changes. The openclaw command should now work.
Step 4: Complete the Initialization Wizard
After installation, the onboarding wizard should trigger automatically:
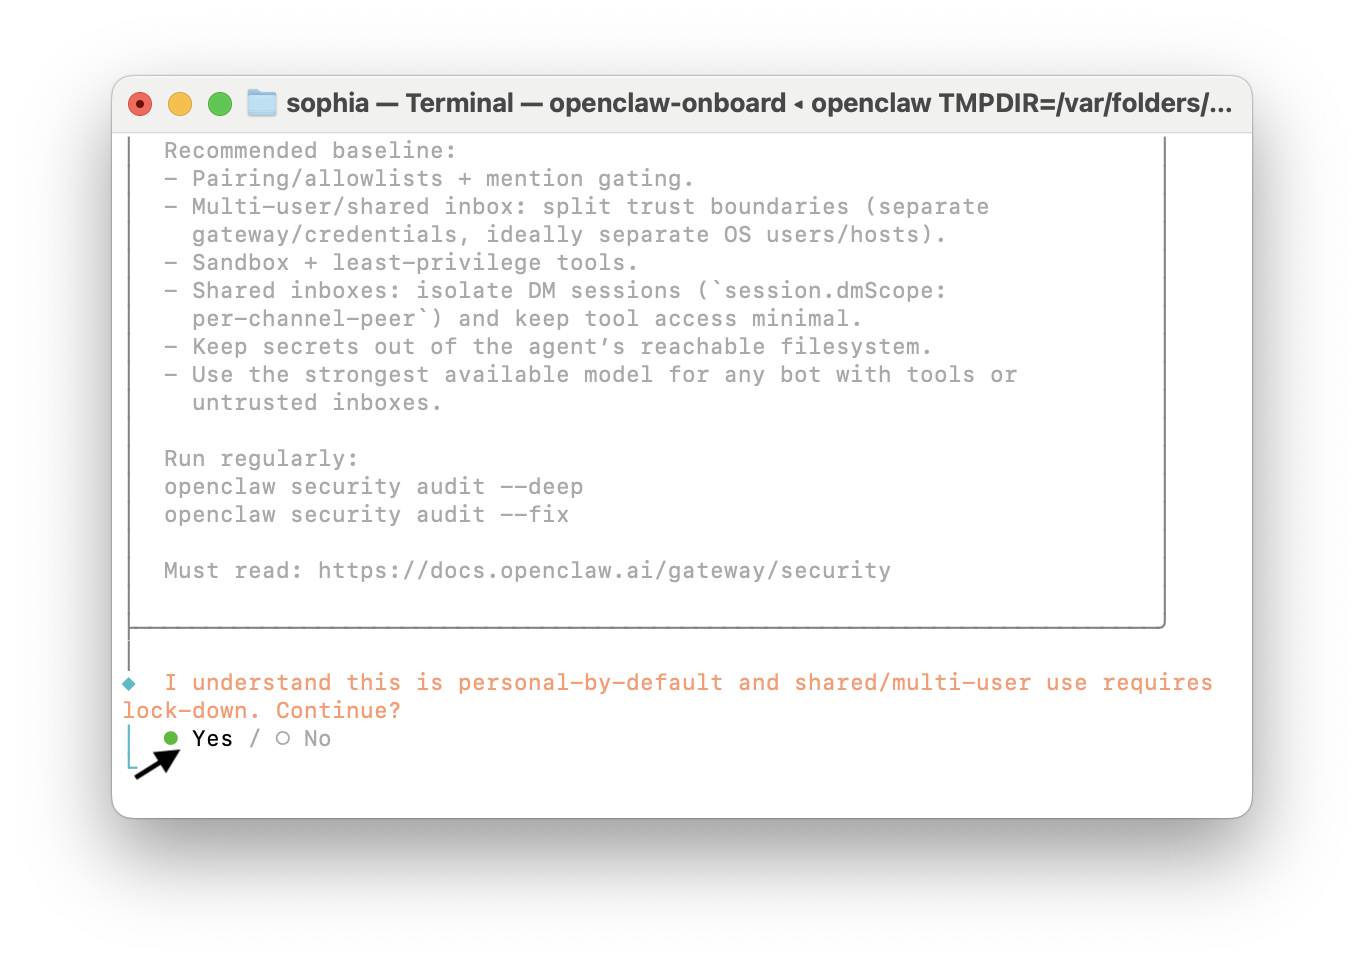
If you accidentally closed the window, you can restart the wizard (and install the background daemon) by running:
openclaw onboard
The wizard will walk you through three primary sections:
-
AI Model Configuration: The wizard will request an API key for the large language model service (Anthropic Claude, OpenAI GPT, etc.).
→ For now, select "Skip for now". We'll set this up manually in the next step.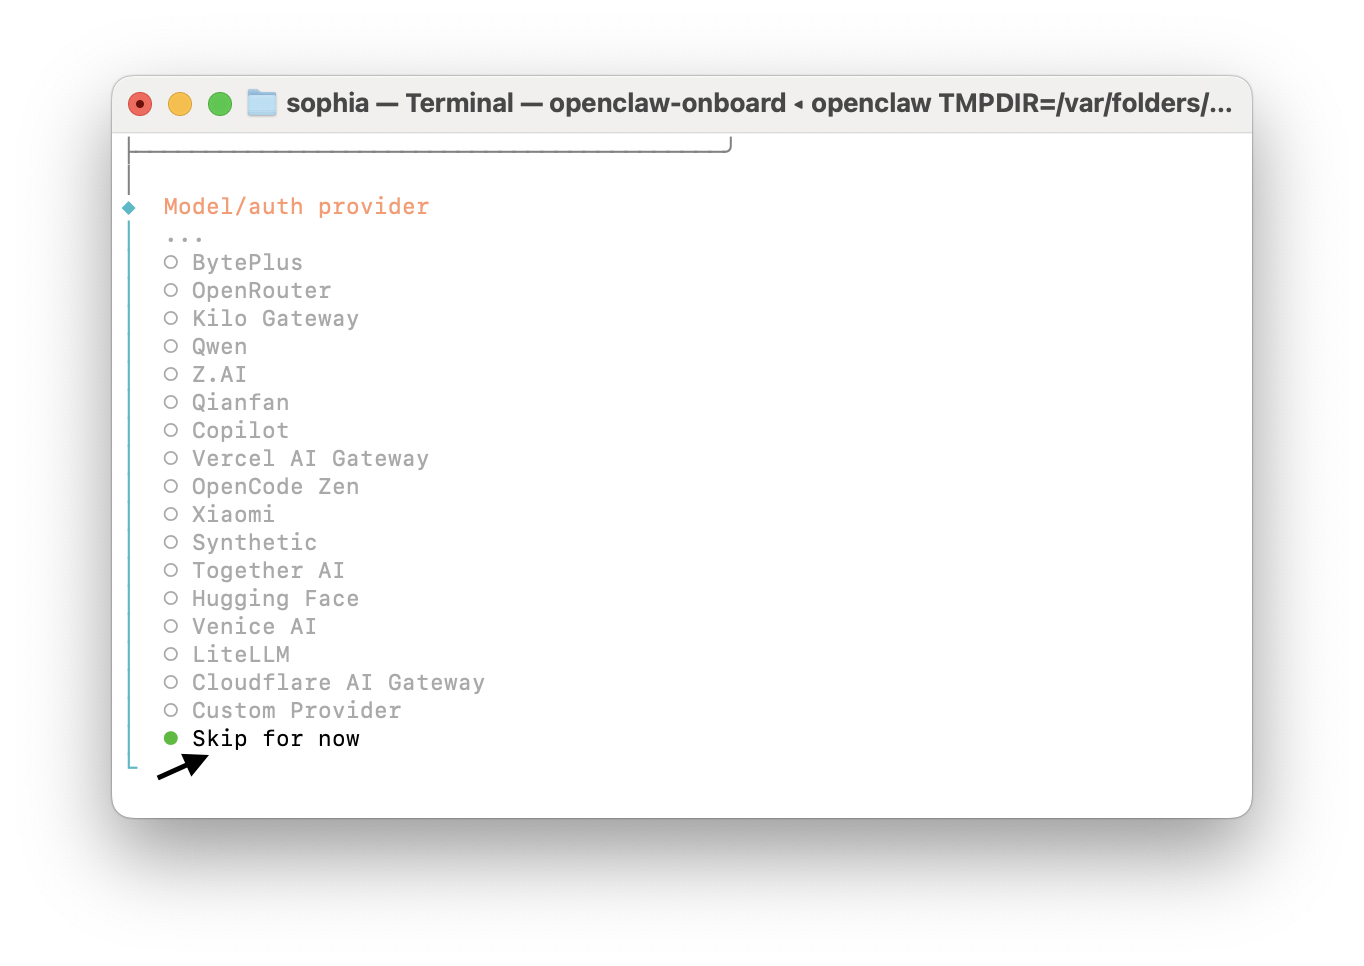
-
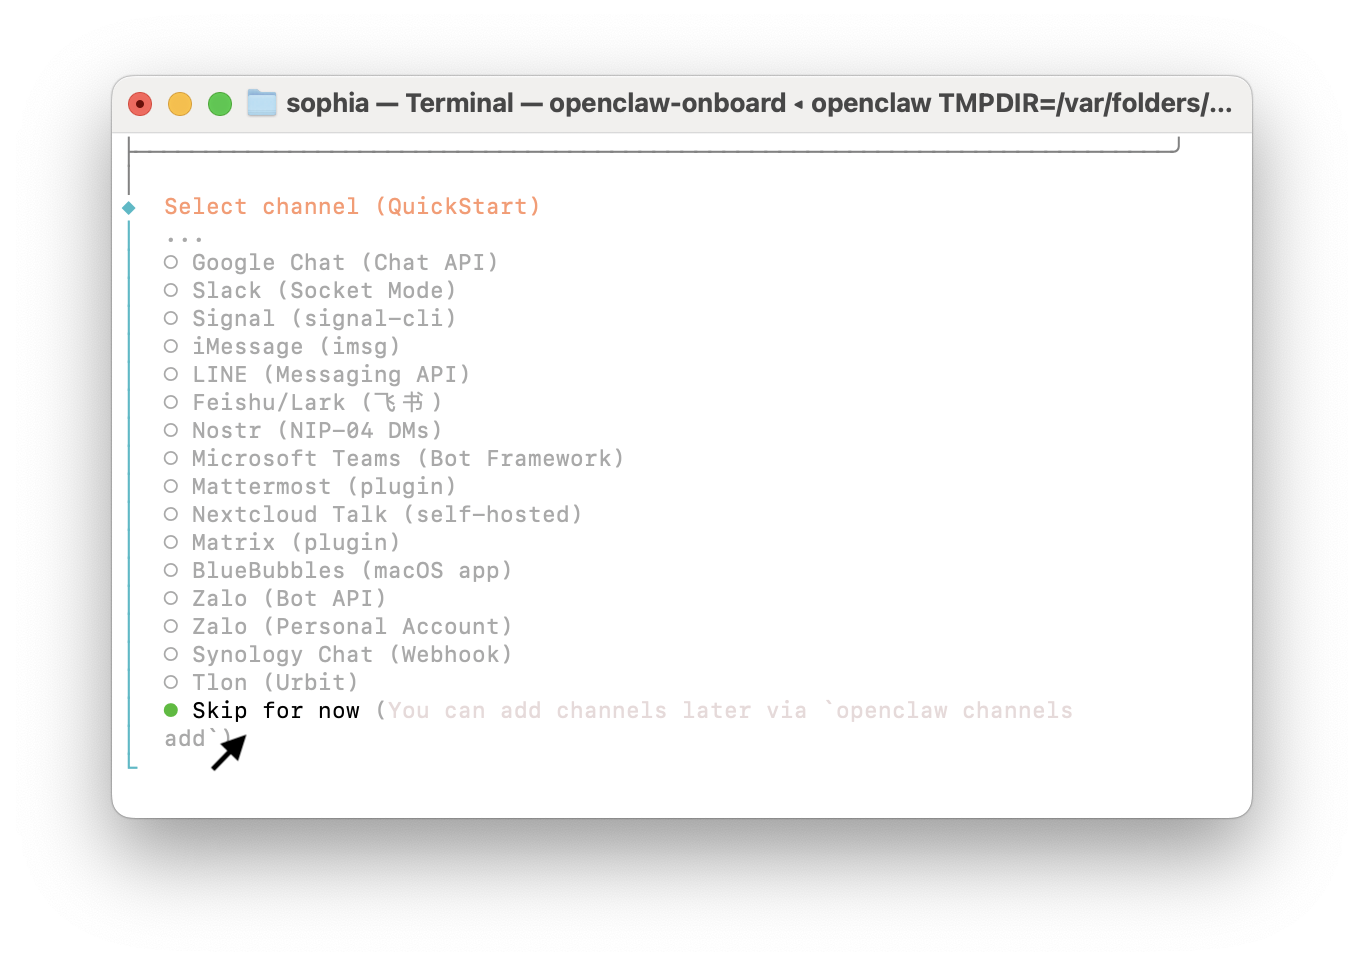
Communication Channels: Choose which messaging apps you want to use to talk to OpenClaw (e.g., Telegram, WhatsApp).
-
Skills: We recommend selecting No (Use the Spacebar to toggle selections and Enter to confirm). You may also skip and add them later.

Once the wizard finishes and the OpenClaw UI launches, you will need to manually edit the configuration file to connect it to AINFT.
Step 5: Configure the AINFT Model
After completing the onboarding wizard, you'll need to manually add your AINFT configuration to OpenClaw and set it as the default model. There are two ways to complete the configuration:
- One-Click Script: Please refer to this article.
- Manual Configuration: Please follow the instructions below.
5.1 Edit the Configuration File
Open the configuration file located at ~/.openclaw/openclaw.json. OpenClaw reads this file at startup to load all its LLM configurations.
Locate the "models" section and merge the following JSON snippet. Be sure to replace {AINFT_API_KEY} with the unique key generated in your API key management dashboard.
{
  "models": {
    "mode": "merge",
    "providers": {
      "ainft": {
        "baseUrl": "https://api.ainft.com/v1/",
        "apiKey": "{AINFT_API_KEY}",
        "api": "openai-completions",
        "models": [
          {
            "id": "gpt-5.2",
            "name": "gpt-5.2"
          },
          {
            "id": "gpt-5-mini",
            "name": "gpt-5-mini"
          },
          {
            "id": "gpt-5-nano",
            "name": "gpt-5-nano"
          },
          {
            "id": "claude-opus-4.6",
            "name": "claude-opus-4.6"
          },
          {
            "id": "claude-sonnet-4.6",
            "name": "claude-sonnet-4.6"
          },
          {
            "id": "claude-haiku-4.5",
            "name": "claude-haiku-4.5"
          }
        ]
      }
    }
  }
}
5.2 Set the Default Model
In the same openclaw.json file, locate the agents section, and set the default model to your preferred choice. This example uses ainft/gpt-5-nano:
{
  "agents": {
    "default": {
      "model": "ainft/gpt-5-nano"
    }
  }
}
5.3 Restart the Gateway
For the configuration changes to take effect, you must restart the OpenClaw gateway:
openclaw gateway restart
openclaw gateway restart
5.4 Test the Connection
Send a test message from your terminal to verify everything is working:
openclaw chat "How are you doing today?
openclaw agent --agent main --message "How are you doing today?"
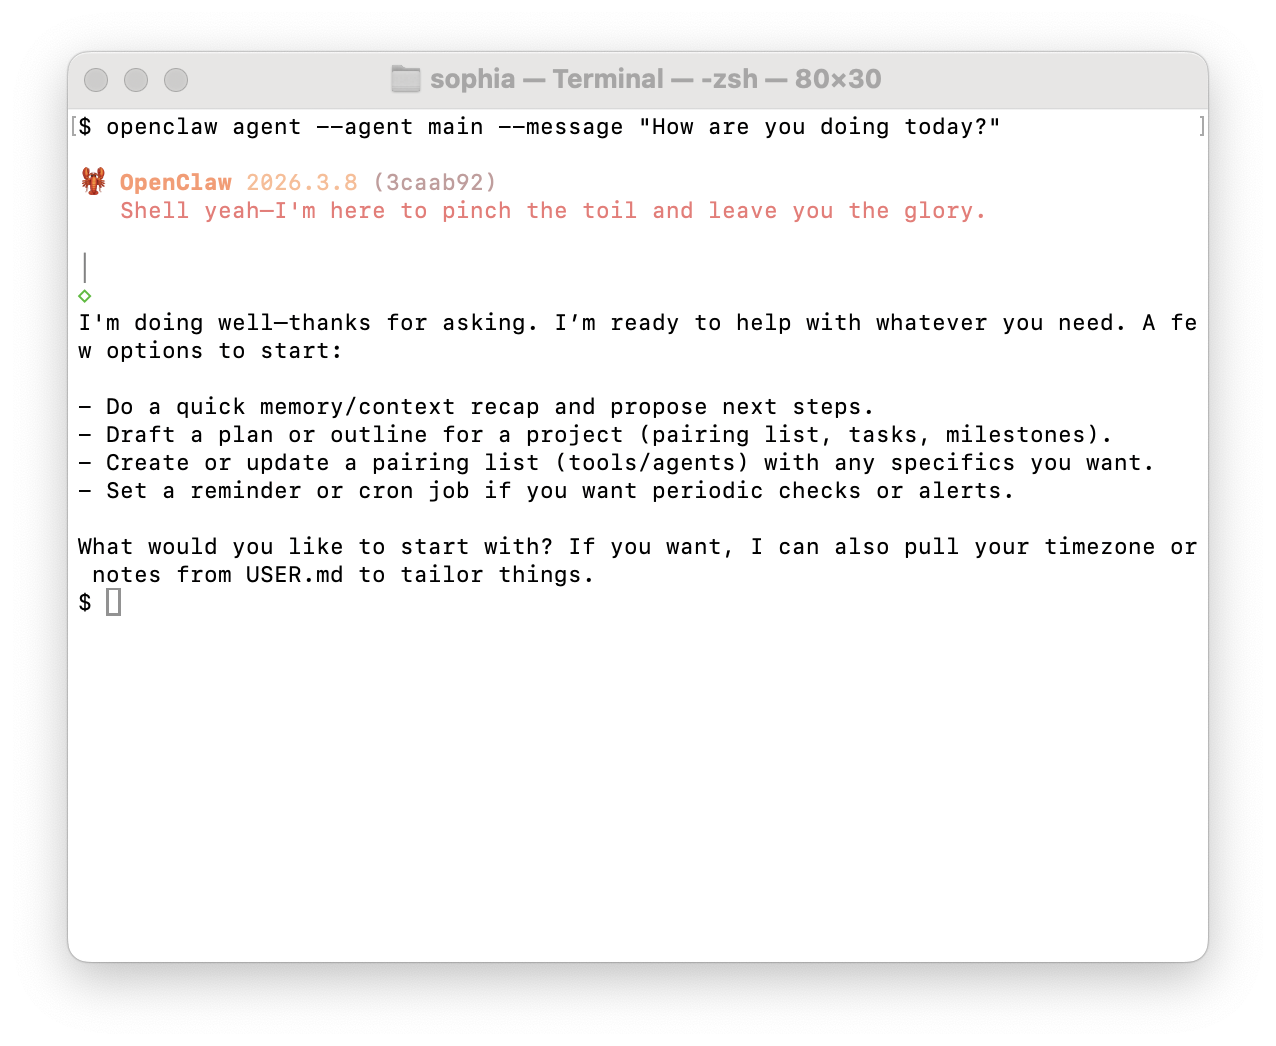
If you receive a coherent response, congrats—you have successfully connected OpenClaw to AINFT!
Step 6: Understand Gateway and Diagnostic Commands
If you encounter issues during configuration or while running the program, it helps to understand what the Gateway is and how to use the built-in diagnostic tools.
What is the Gateway?
During setup, you'll frequently encounter the term "Gateway".
| Action | Command |
|---|---|
| Install the Gateway | openclaw gateway install |
| Start the Gateway | openclaw gateway start |
| Stop the Gateway | openclaw gateway stop |
| Restart the Gateway | openclaw gateway restart |
| Uninstall the Gateway | openclaw gateway uninstall |
| Check Gateway Status | openclaw gateway status |
Diagnostic Command
Once completing onboarding and updating your configuration file, it's wise to run the following diagnostic commands to ensure everything is set up correctly.
| Command | Description |
|---|---|
| openclaw doctor | Performs a comprehensive health check of your system environment and configuration. Run this first if you encounter any issues; it provides specific recommended actions for each error found. |
| openclaw gateway status | Shows real-time information about the Gateway. |
Example:
openclaw doctor
Simply follow the prompts and suggestions in the output to resolve any errors. You can use openclaw gateway status (or simply openclaw status) to monitor the real-time status of the Gateway and all active sessions. If the Gateway is functioning correctly, the output will display a "Healthy" status with no exceptions.
Step 7: Launch OpenClaw
With the configuration complete, you can interact with your AI assistant through either a web-based dashboard or a Terminal User Interface (TUI).
Option 1: Web Dashboard
OpenClaw's built-in web interface, called the Dashboard (or Control UI), is the most intuitive way to manage and use your assistant.
To launch the Dashboard:First, ensure the Gateway is running. In your terminal, execute:
openclaw dashboard
This command will generate a URL containing a temporary login token and open it in your default web browser. By default, the address is http://127.0.0.1:18789, though the port may vary based on your configuration.
From the Dashboard, you can:
- Chat with your AI assistant in real-time.
- View and manage your chat history.
- Configure models, channels, and skills.
- Track the real-time status of the system.
Option 2: The Terminal UI (TUI)
For users who prefer to work within the terminal, OpenClaw offers a full-screen text-based interface called the TUI.
Ensure your Gateway is running, then start it with:
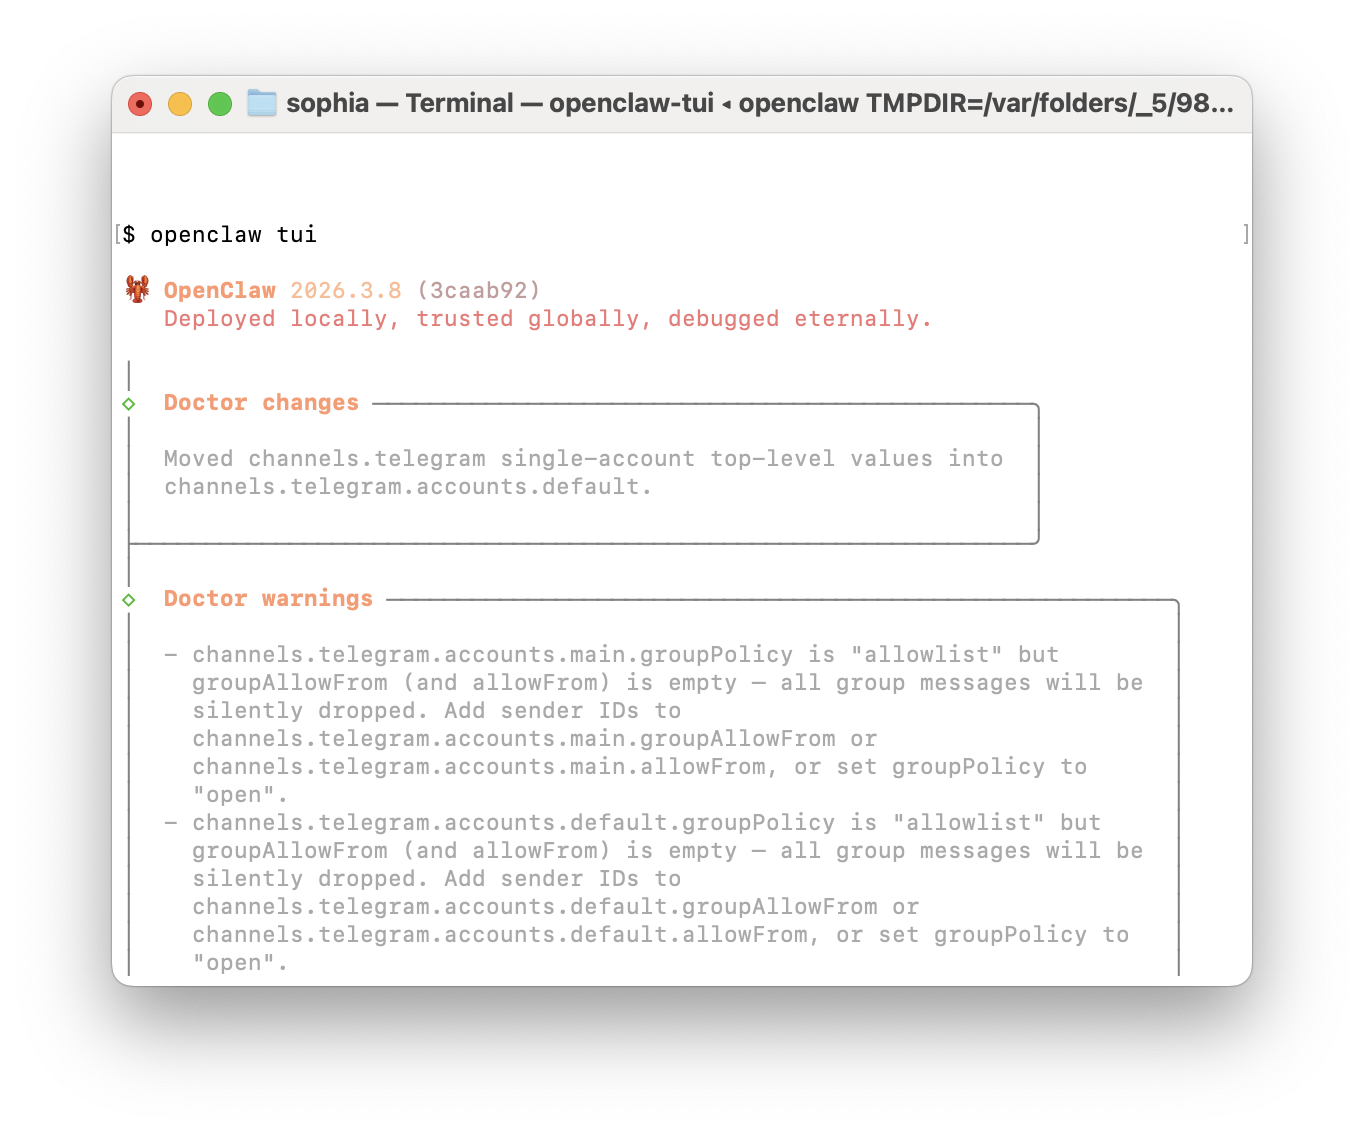
openclaw tui
The command launches a full-screen application featuring dedicated sections for chat history, real-time system status, and an interactive input box.
You can send messages just like in a chat app. The TUI also supports the following slash commands for quick actions:
| Command | Description |
|---|---|
| /status | View the current system status. |
| /session <key> | Switch to a specific chat session. |
| /model <name> | Switch the LLM for the current session. |
| /help | View a list of all available commands. |
The TUI is optimized for a focused, keyboard-centric experience, making it the ideal choice for developers who prefer staying within the terminal environment.
Step 8: Master Essential Commands
Beyond the graphical interfaces, the OpenClaw Command Line Interface (CLI) is also a powerful tool designed for advanced configuration and automation.
Core Management Commands
Here are some of the most useful commands for daily use:
1. Check Model Status
openclaw models status
Use this to check the status of your configured AI models and their API keys—for example, to see if a key is still valid or is about to expire. Ensuring your models are healthy is the first step to a functioning assistant.
2. Manage Communication Channels
openclaw channels list
This displays all the messaging platforms you have configured and their current connection status.
3. Query Long-Term Memory
openclaw memory search "keyword"
This executes a semantic search of your AI assistant's long-term memory, allowing you to retrieve any information you've shared with it in the past.
4. View Documentation
openclaw docs
If you want to dive deeper into a specific command or feature, this command provides a direct portal to the official OpenClaw documentation.